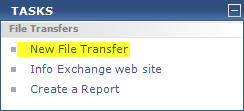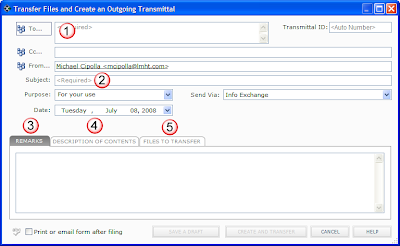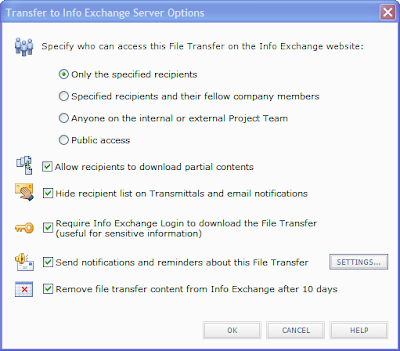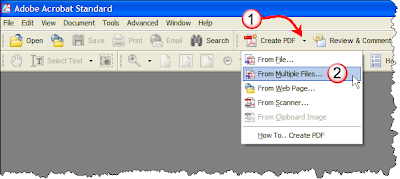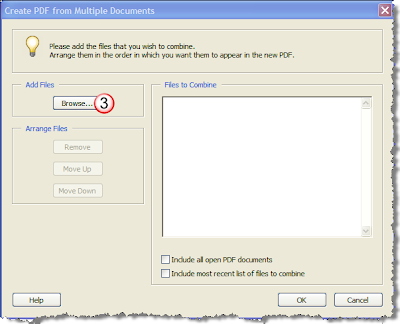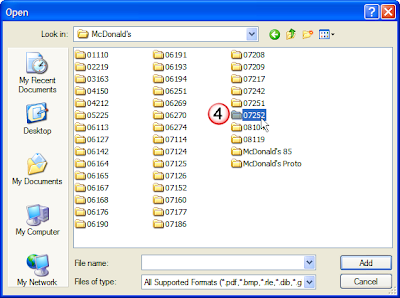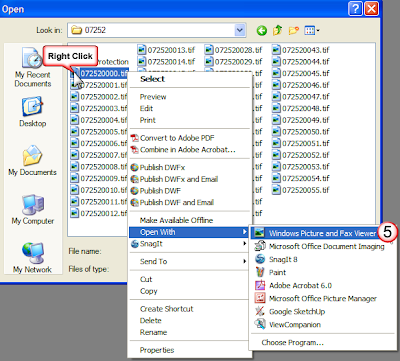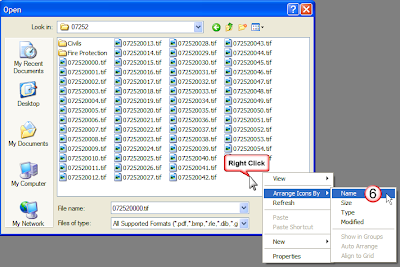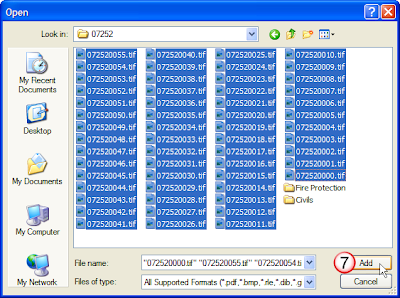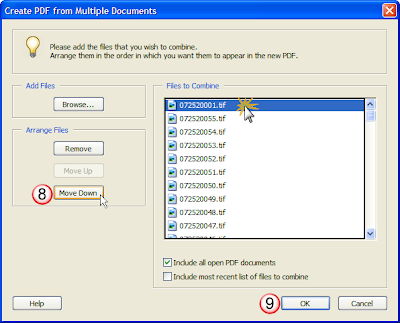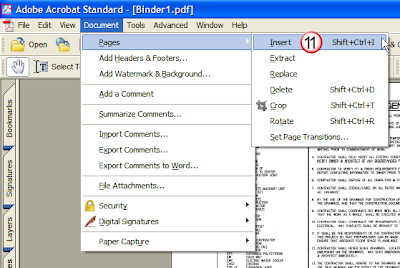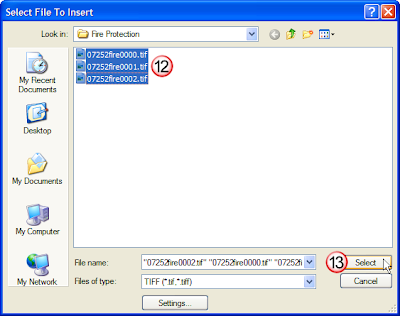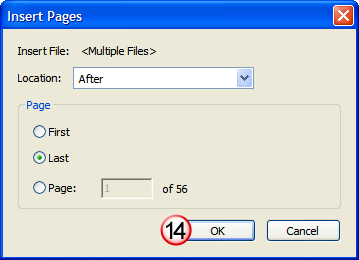

Insert sheets into scanner.
____________________________________________________________________
Example: Project # 08228
When scanning in a project use the following format:
- Project #-sheet name-automatic scanned number (08228-CS-001.tiff)
- All first time jobs will be placed in the folder “Original”
- Folder structure will be
- Drive : N:\
- Client : Noodles
- Project number : 08228
- Project status : Original or Rev1 or Rev2
- .tif files and job files will be located in the project status folders
- “Original folder” will contain all the .tif files originally scanned for that project, along with the original job file which is named with the project number.
- 08228.job

The Rev folders will contain the revision .tif files along with (2) new job files


First new Job file will contain all the .tif files with the old pages removed from the Job and the revision pages inserted. “08228-R1-FULL.job”
Second new Job file will contain only the Revision pages. “08228-R1-SHEETS.job”


